Instructions for All Smart USB Card Products
You can find instructions for all Smart USB Card products here:
Smart USB EMR Card™, Blank / Customized Smart USB Cards, Smart USB Greeting Cards, or Smart USB Holy Bible
PLEASE REMEMBER IF YOU MAKE YOUR SMART USB CARD'S DRIVE READ ONLY OR NON-REWRITABLE, LOCK OR MAKE THE NFC READ ONLY OR
NON-REWRITABLE, OR WRITE ON THE SMART USB CARD WITH A MARKER IT WILL VOID YOUR WARRANTY

Your Smart USB EMR Card™ comes with a pre-loaded, password protected, full-able medical forms. No one will be able to read your medical form unless you provide them with your password providing you with safety and privacy if lost.
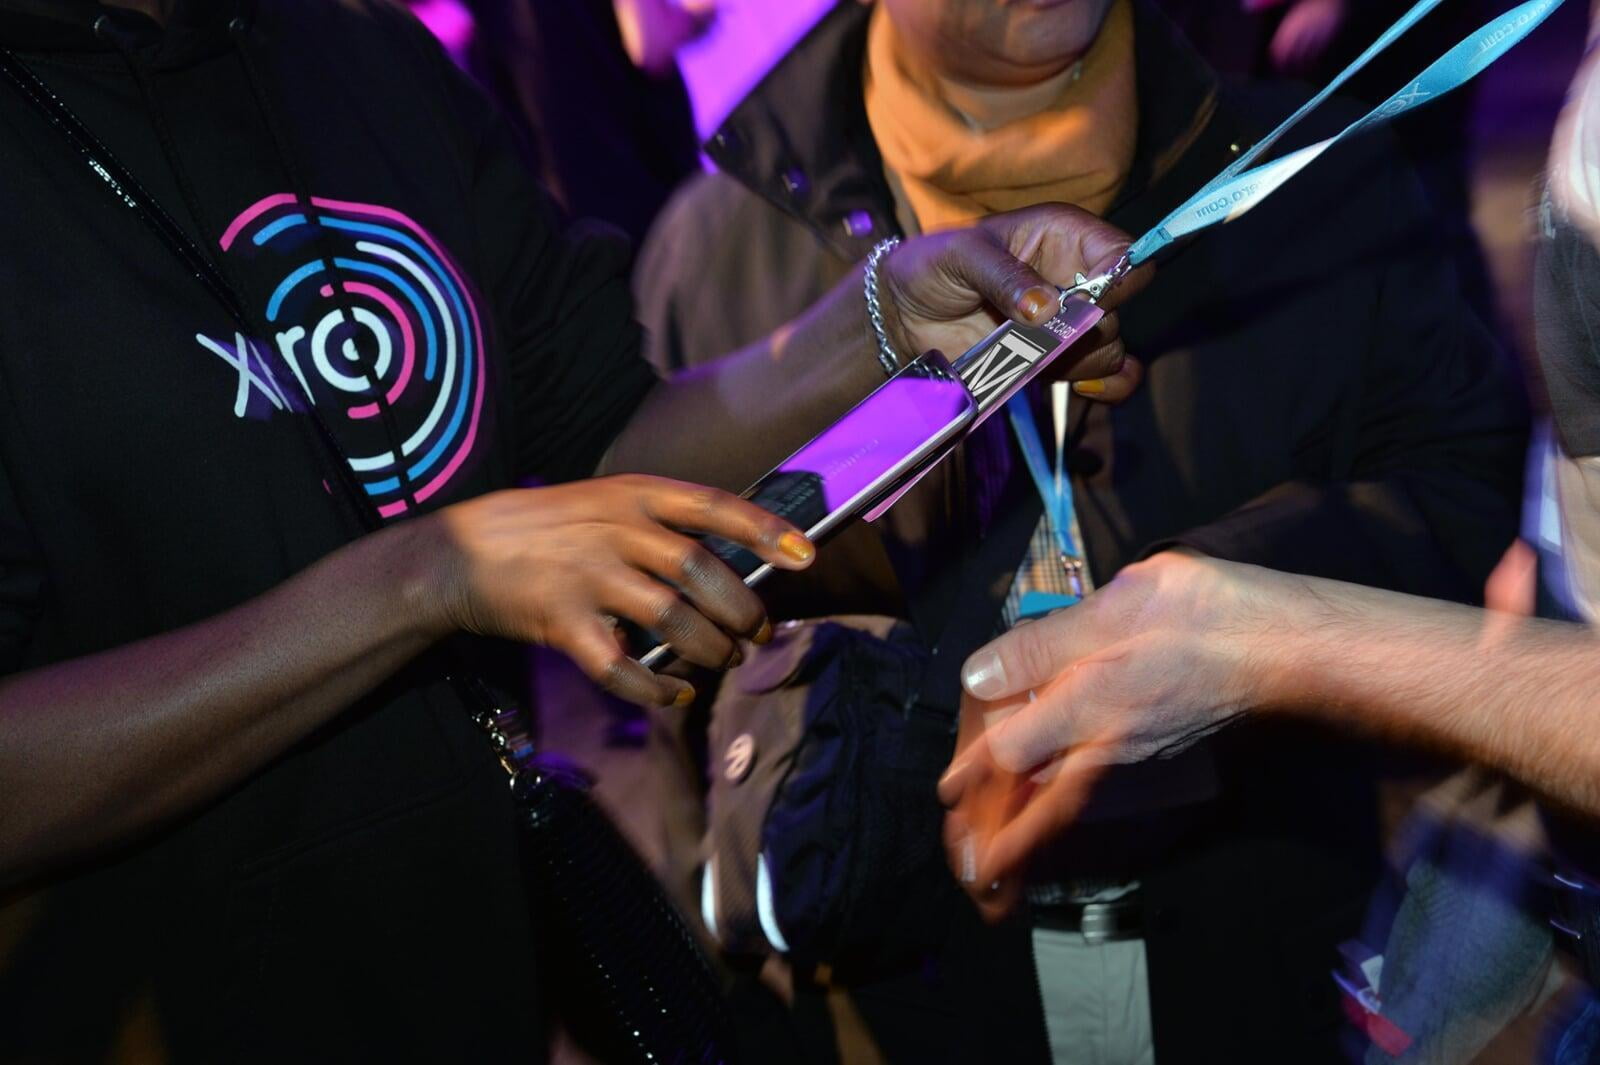
- Open the dongle door - See Image 1 at top of page.
- When looking into your personal computer, laptop, or tablet USB port you will notice a piece of plastic and an opening.
- You must insert your Smart USB Card into the opening with the gold connectors facing the piece of plastic.
- Once you insert the dongle into your computer, your Smart USB EMR Card™ will show up as a drive, most likely as D:, E:, or F:
- Please look for a file named "Emergency Medical Forms by TVMBio".
- Double click to open the file.
- It will ask you for a password. Your password is "password". It is your choice if you want to change it! Instructional video if you will like to change your password https://youtu.be/FLa4TX0_HHA.
- Please complete the forms as much as possible and SAVE IT. You can always update the form as your medical condition changes.
- You can add other medical records and files to your drive but it will NOT be password protected unless you have Adobe Acrobat. You can save up to: 2,000 Word Docs, 300 PDF's, or 70 photos.

Programming the NFC (Near Field Communication) in your Smart USB EMR Card™. You can load up to a 800 character message onto your NFC.
- You can choose any NFC writing mobile application for your Android or iOS device. We recommend the FREE version on https://www.wakdev.com/en/apps.html.
- If you use the app we recommend in Step 1 called "NFC Tools", you must erase the pre-loaded instruction web page link first before writing and saving a new NFC message.
- You can store up to a 800 character emergency message on your TVM.Bio® NFC.
- WE DO NOT RECOMMEND LOCKING YOUR NFC JUST IN CASE YOU NEED TO CHANGE YOUR MESSAGE IN THE FUTURE. LOCKING THE NFC WILL VOID YOUR WARRANTY.
- Please double check all your emergency NFC information by tapping your NFC mobile device to NFC Hand located in the lower left hand corner of your card.

Editing your Advance Directives & Emergency Medical Records linked to your NFC (Near Field Communication) on your Smart USB EMR Card™.
- After purchasing your Smart EMR Card™, you will receive an INVITATION from MyDirectives® via email asking you to UPDATE your Advance Care Plan by TVM.Bio®.
- Click "New User" and complete the Sign Up Form.
- Once you login, on "My Dashboard", you will see all your Advance Directives & Emergency Medical Records. Scroll down to "My Documents and Permissions" and click "Edit" on Emergency Medical Records by TVM.Bio®.
- Under "Uploaded Documents" click the Download Icon. This will automatically download your Emergency Medical Records Form. Please open it and complete the emergency form.
- Once you complete the form, you will see an download arrow icon in the upper righthand side of your screen. Click it and select "With your changes" and click "Save". It will ask you if you want to replace it, click "Yes".
- You can now upload your completed Emergency Medical Records by returning to the same page you were previously under section "Add Document", click "Select a File", click "Emergency Medical Records by TVM.Bio.pdf", click "Open".
- Under "What do you want to call this document?", type "Emergency Medical Records".
- Under "What type of document is this?", select "MyDirectives Universal Advance Digital Directive"
- Under "When was this document created", please select today's date.
Your Blank / Customized Smart USB Card or Smart USB Greeting Card will most likely need content (videos, pictures, music, etc.) before being presented as a gift to a family or friend.
- Remove clear band from gift box. MAKE SURE NOT TO THROW AWAY!
- Remove the Smart USB Card from the gift box.
- Open the dongle door - See Image 1 at top of page.
- When looking into your personal computer, laptop, or tablet USB port you will notice a piece of plastic and an opening.
- You must insert your Smart USB Card into the opening with the gold connectors facing the piece of plastic.

7a. You may now copy and paste or click and drag any file from your personal computer to the drive where your Smart USB Card is located AND/OR
7b. You can record a personal video if your device has a webcam, video apps, or software.
8. Follow your devices instructions for removing hard ware devices (can also be called USB devices or mass storage devices) before unplugging your Smart USB Card.
9. Use a permanent marker to write name and/or message on body of the Smart USB Card.
10. Insert your Smart USB Card back into gift box.
11. Remove hanging tag from box. It is perforated for easy removal.
12. Replace the clear band onto the gift box and present to family, friend, or loved one!

All Smart USB Cards come with NFC (Near Field Communication) built into the body of the card. Your Smart USB Card will come temporarily pre-programmed to take you to this instruction page. YOU WILL BE ABLE TO RE-WRITE OVER THIS LINK! The NFC can be programmed in minutes with a smart phone with built in NFC capabilities including many Android and Apple phones (please check your phone's manual for capabilities). *This is an additional option to customize your Smart USB Card and does not effect your loaded content from above.
- Please check the manual for your phone to turn on your NFC settings. Your phone NFC settings will most likely be found in your phone settings.
- Visit your app store and download any app that has "NFC Writer".
- Depending on the app, you should be able to program any of the following features: Business Card, Link/URL, Wi-Fi, Bluetooth, Email, Telephone Number, Geo Location, Launch an Application, Plain Text, or SMS.
- For more detailed instructions with pictures for Android phones, you can visit: https://www.wikihow.com/Write-and-Use-NFC-Tags
- For Apple we recommend you download this app: https://apps.apple.com/us/app/nfc-for-iphone/id1249686798. For more detailed instructions for Apple phones, you can visit: https://iphone-tricks.com/tutorial/11057-how-to-use-nfc-on-iphone
Please view video below for NFC instructions for Apple


